Install IBM Java8 on centos 7( problem - JRE libraries are missing or not compatible.... Exiting.... )
We have IBM CPU with centos7 as operating system. We need to install JAVA 8 provided by IBM, below are some steps which are used for this installation-
1. Download IBM JRE(ibm-java-ppc64-jre-8.0-3.12.bin) from IBM official site.
http://www.ibm.com/developerworks/java/jdk/java8/
a.) Select your required JRE such as, we need Linux 64-bit IBM POWER, and click on download now, fill login details or guest user and download .bin file using download director or http. Http will be more convenient to download.
2. Change executable permissions to ibm-java-ppc64-jre-8.0-3.12.bin file.
3. Execute file using bash
./ibm-java-ppc64-sdk-8.0-3.12.bin
4. You will get installation window if everything gonna fine.
5. But if you got some error like -
JRE libraries are missing or not compatible....
Exiting....
Cause for problem is that LAX(install anywhere) unable to find correct JVM on your system. So, we have to provide correct correct java to LAX
6. To see full logs, run command - export LAX_DEBUG=true. After viewing logs its clear what was the error.
7. Finally, we have to provide correct java path to LAX_VM and below is the updated command which is used for installation, java path may be changed according to system. So, problem resolved.
./ibm-java-ppc64-sdk-8.0-3.12.bin LAX_VM /usr/java/jdk1.8.0_102/jre/bin/java
After running above command you will get installation window and by following simple steps task will be completed-
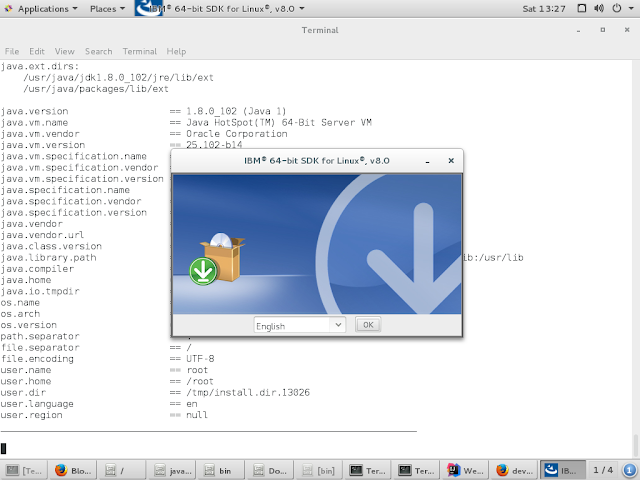
Successfully installed IBM java8 on Centos 7
Comments
Post a Comment